Using 3rd party frameworks in Xcode Playgrounds
Last updated: December 29, 2019. Original version: Oct 10, 2018
Xcode Playgrounds is a great place to prototype code and even practice Test-Driven Development. And sometimes, 3rd party libraries might be handy to use. In this article, I’m gonna show you two ways to use Xcode Playgrounds with frameworks.
The problem we’re trying to solve
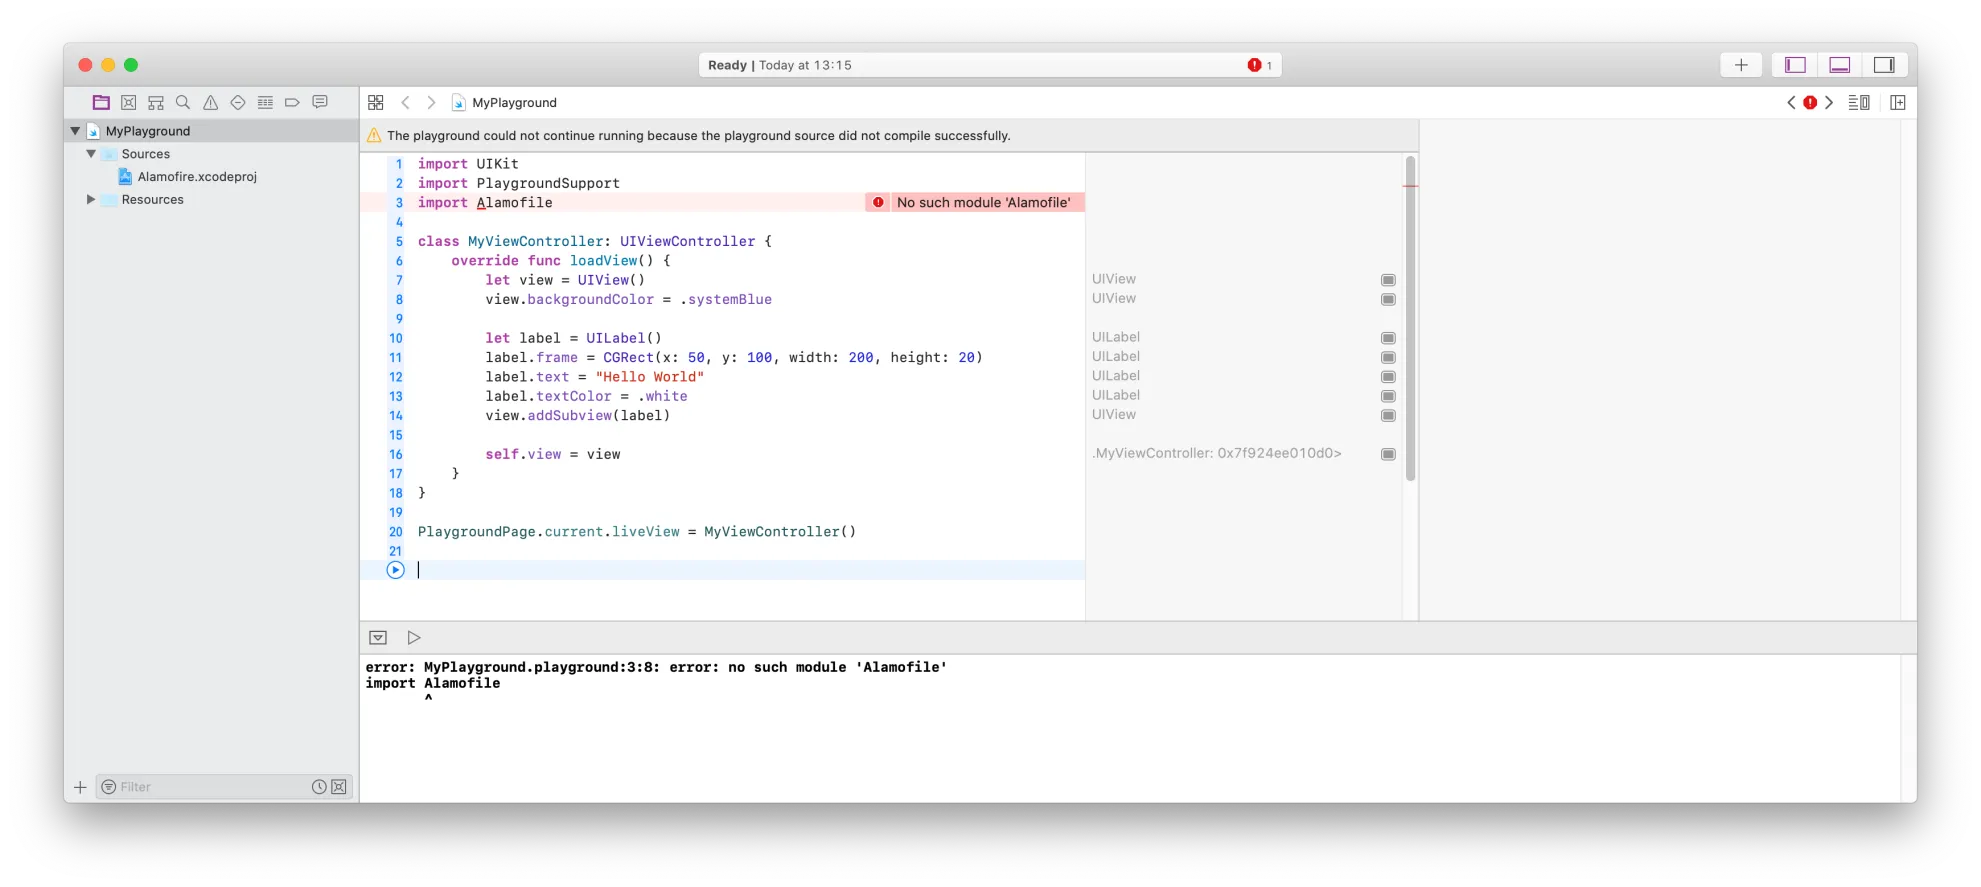
3rd party frameworks can’t simply be included in a playground, not even as part of "Sources":
I. The Simple Way (for when using a single framework)
Say we have a framework that we want to test in a playground — for the example below, I’ve picked a well known library, Alamofire.
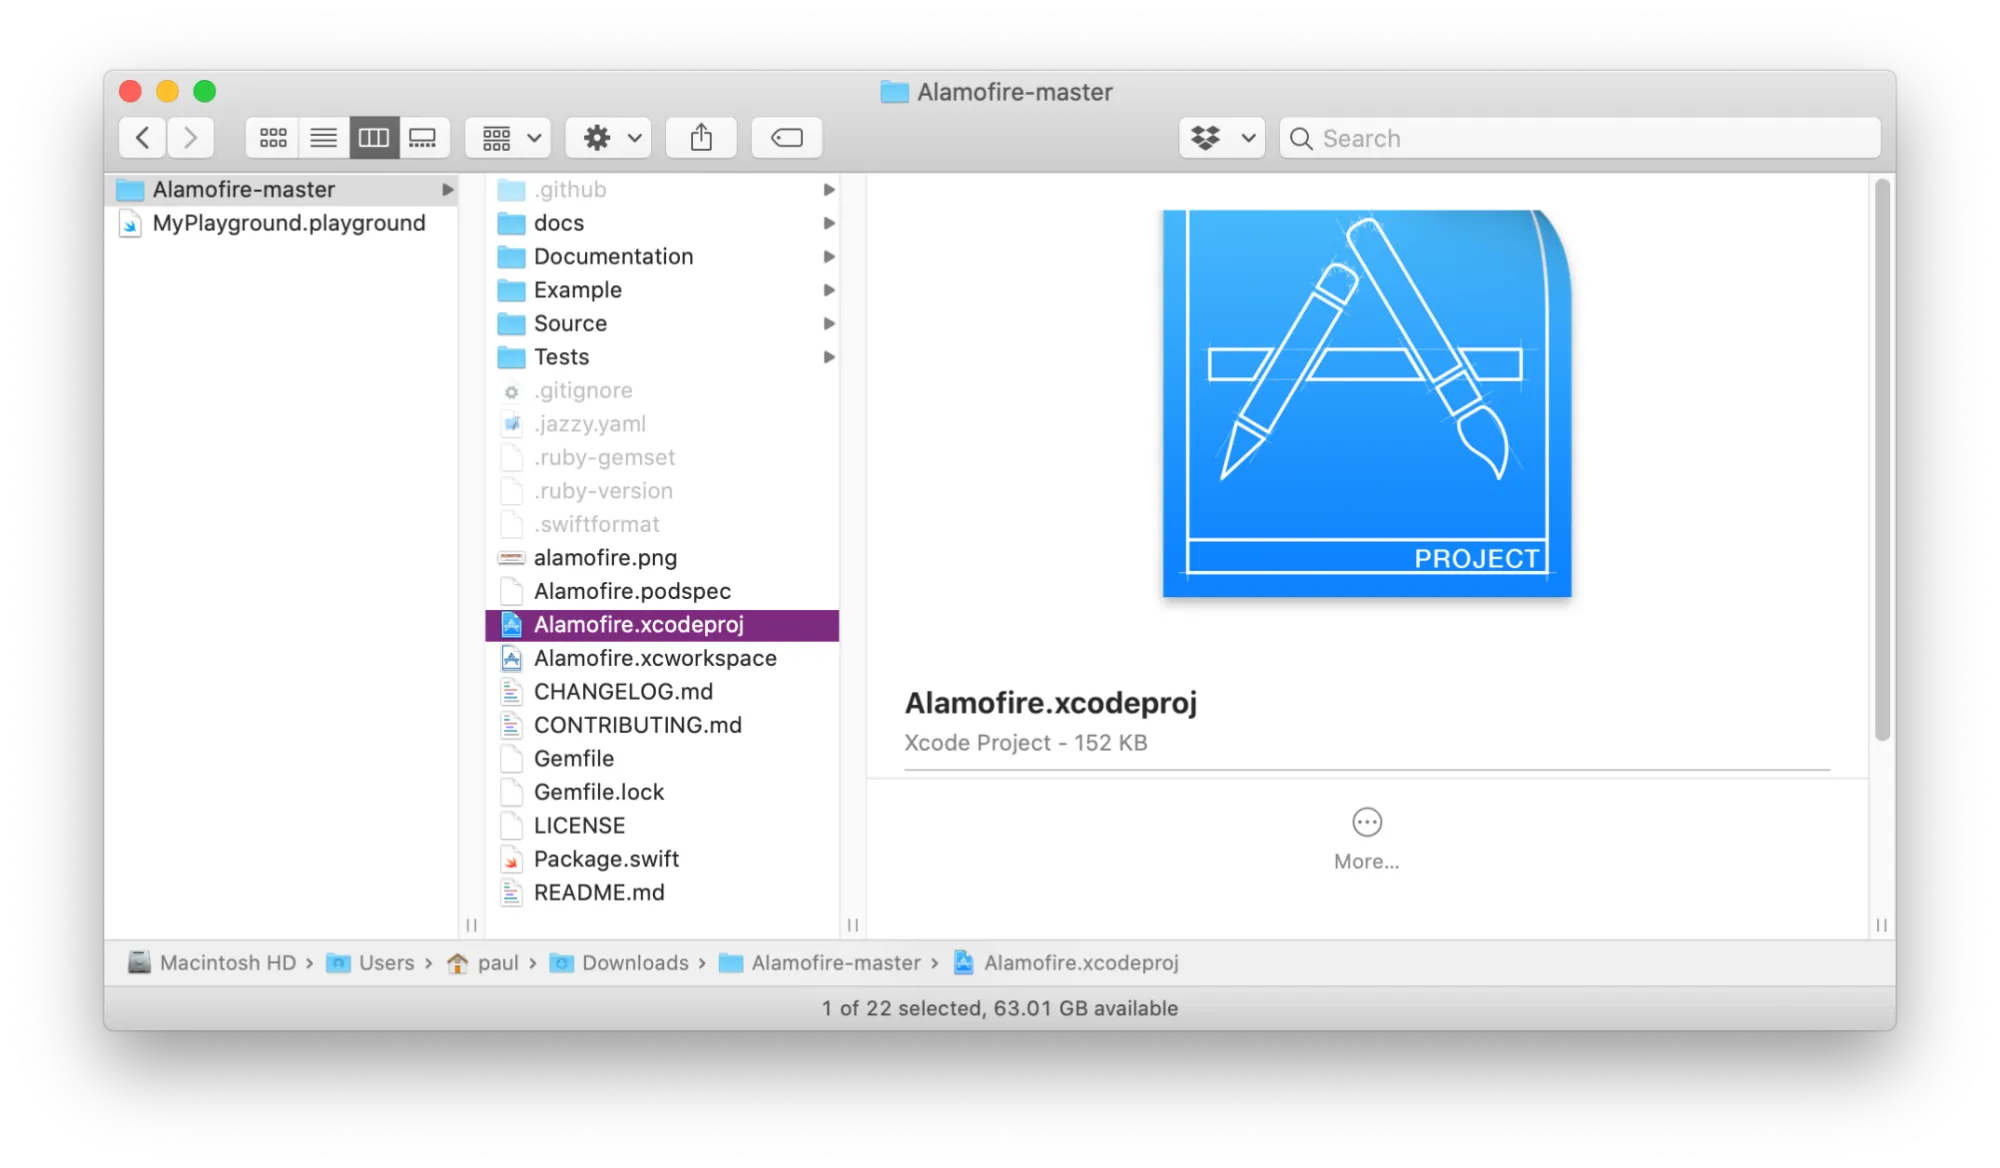
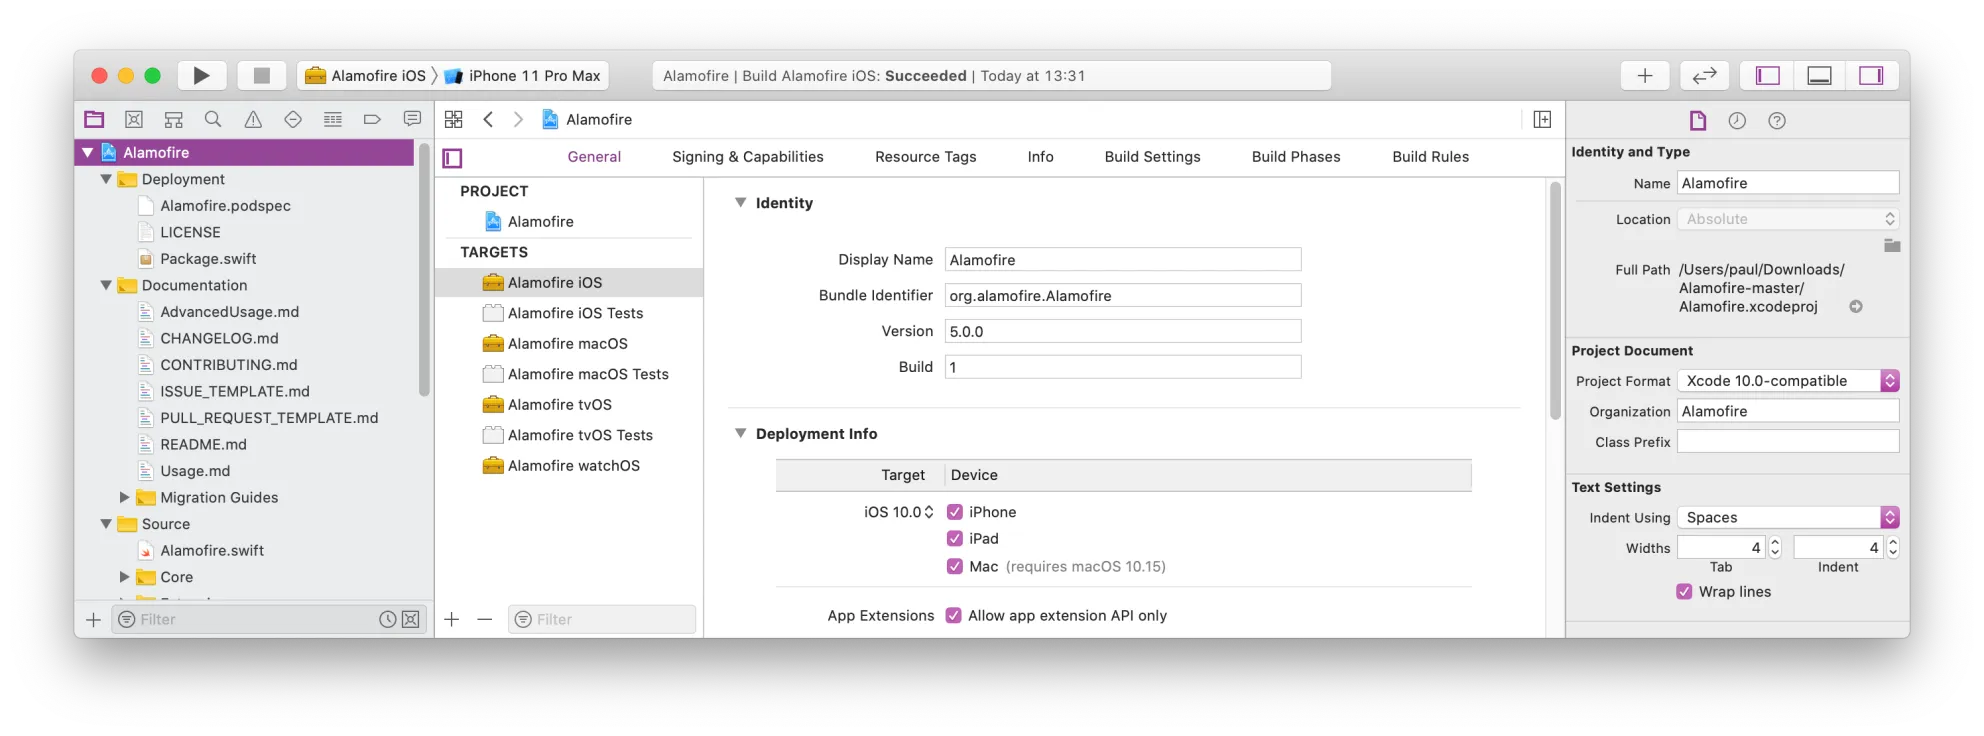
The downloaded archive contains Xcode project that can be opened directly. Make sure the project builds (⌘+B) successfully:
The Playground
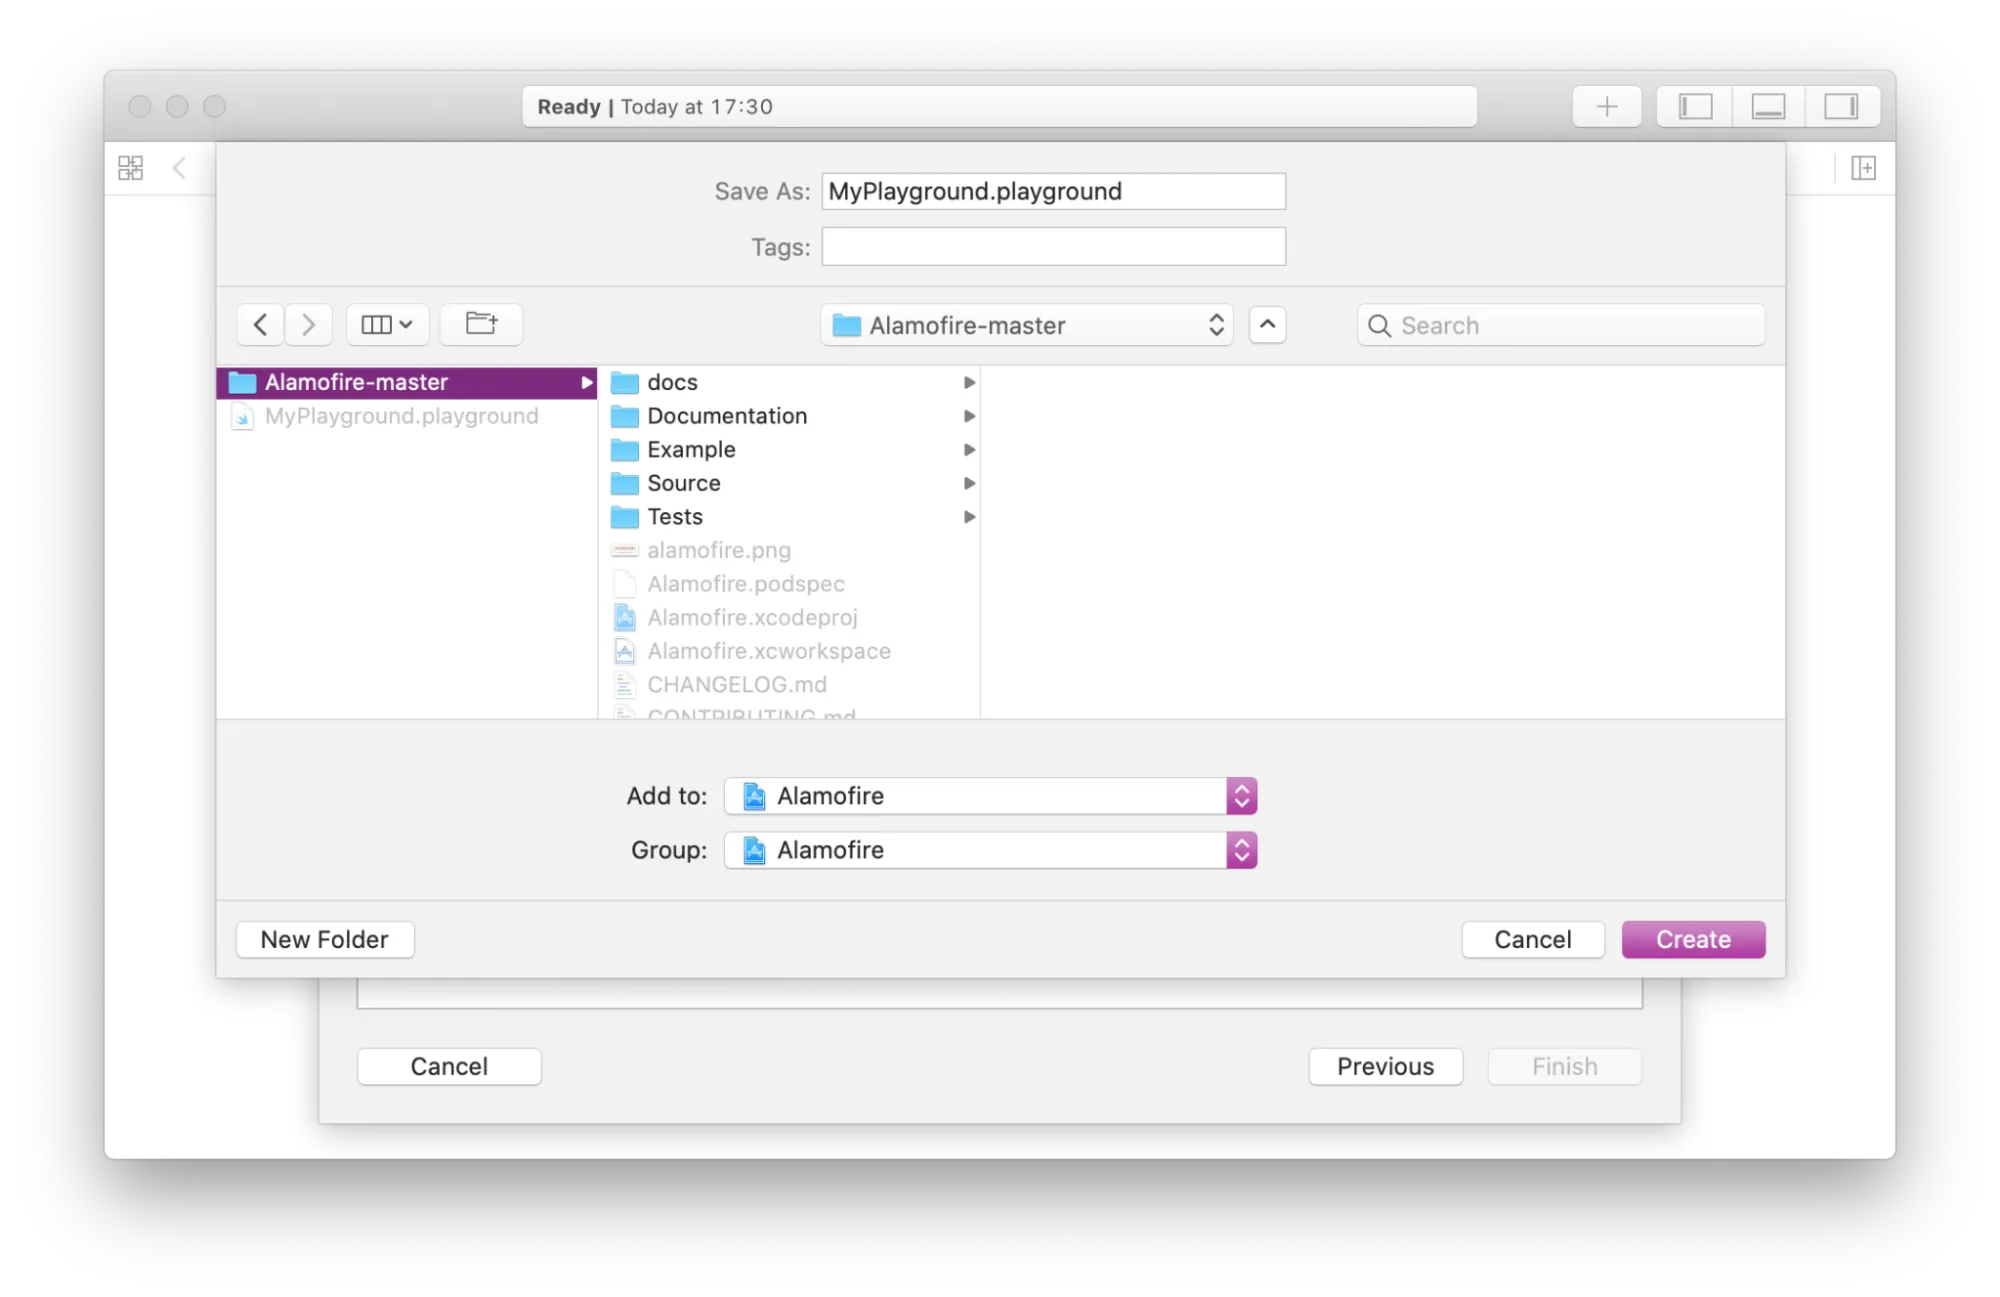
Let’s now create the playground that’s we're going to use. With the project still opened, from the menu, select File > New > Playground, make sure it’s an iOS playground, and select the 'Single View' template.

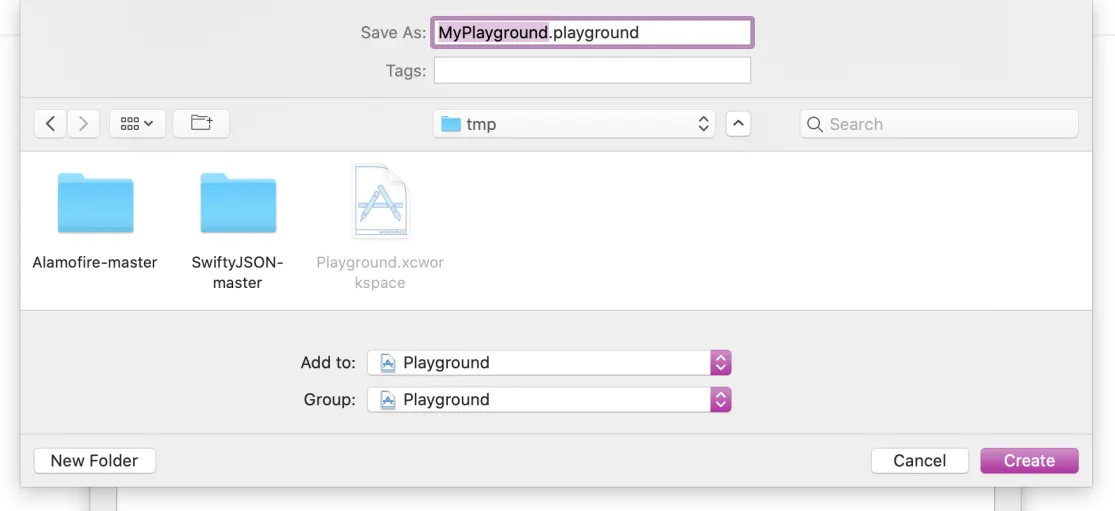
You can use the default name (MyPlayground.playground) and store it inside the framework itself - make sure to select Alamofire under "Add to" and "Group":
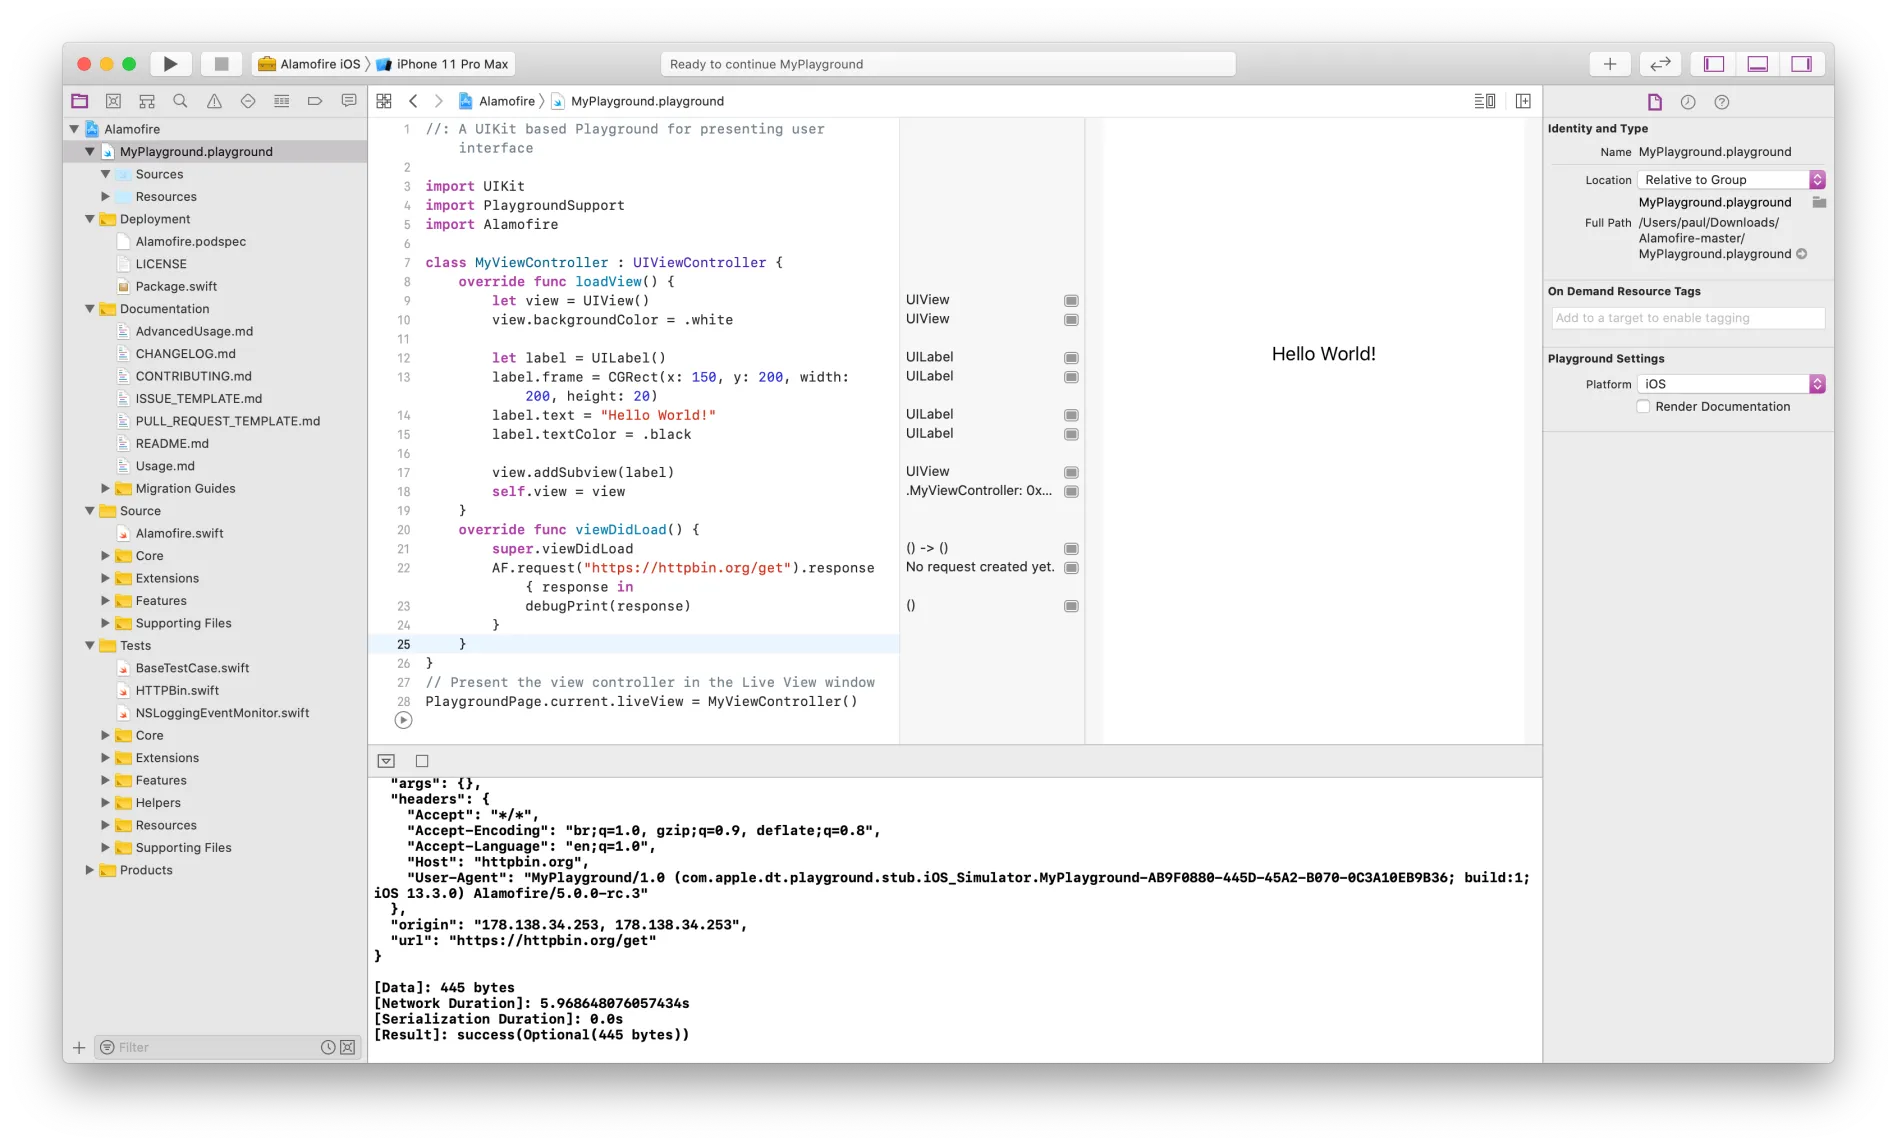
Once the playground is created, run it to view its output:

Using the framework is pretty easy now:
1. Import it at the top:
import Alamofire2. Add a viewDidLoad method and make an HTTP request:
override func viewDidLoad() {
    super.viewDidLoad
    AF.request("https://httpbin.org/get").response { response in
        debugPrint(response)
    }
  }
And here is the result:
II. Using Multiple Frameworks
Let’s see how we can use multiple frameworks in a playground - we’re going to use the same Alamofire together with SwiftyJSON, "the better way to deal with JSON data in Swift".
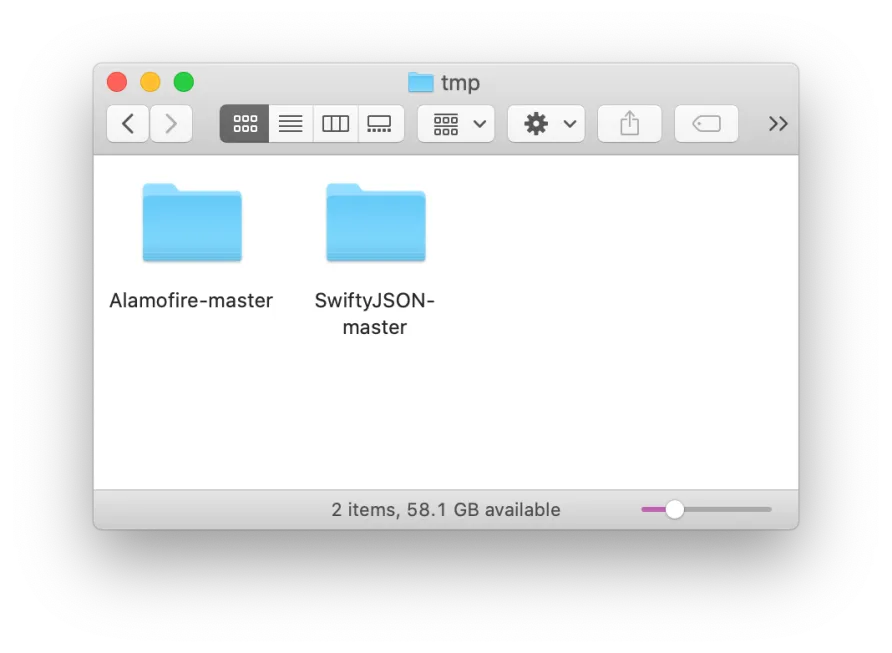
To start with, download both libraries and store them side by side in a folder:
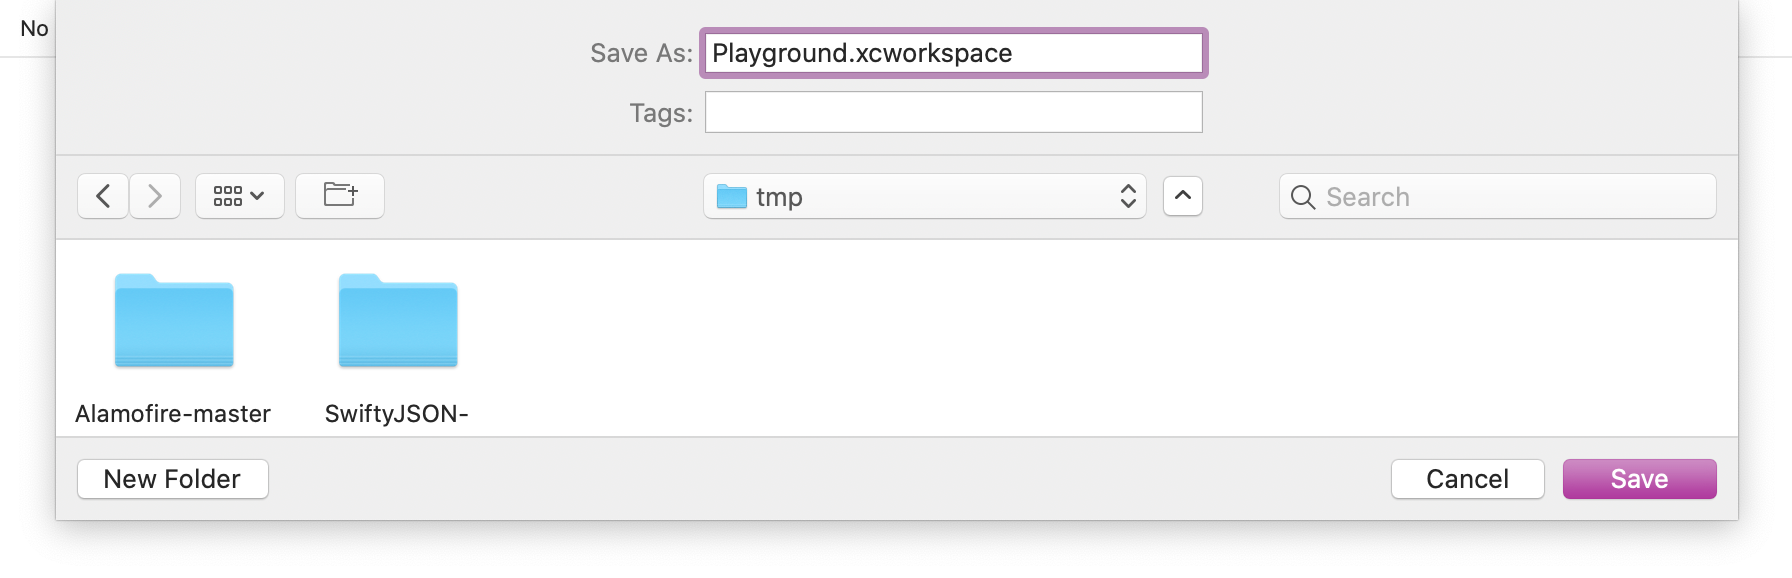
Now, we'll open the Alamofire Xcode project as before and we’re going to create a workspace around it — from the menu select: File > Save as Workspace. I’ve named mine: Playground.workspace and saved it beside the two folders:
Adding the Second Framework
Let’s now add the second framework — from the SwiftyJSON-master folder, drag and drop SwiftyJSON.xcodeproj onto the workspace beside the Alamofire project.
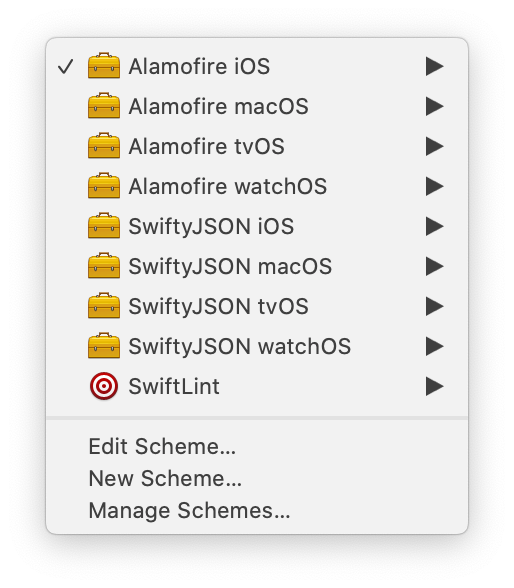
The workspace should now contain the schemes from both frameworks.
The Playground
Just as we did in the previous section, we’ll create a playground inside the workspace— from the menu select File > New > Playground, make sure it’s an iOS playground, and select the ‘Single View’ template. Make sure it is added to the Playground workspace and the Playground group:
One Scheme to Rule Them All
Now, before we can use the frameworks, we’ll have to build them one by one. Whilst it’s not that hard when two are included, it can be a nuisance when using a bigger number of libraries or if you actively develop them whilst using with a playground. For this, we’ll add a new scheme that will build all frameworks.
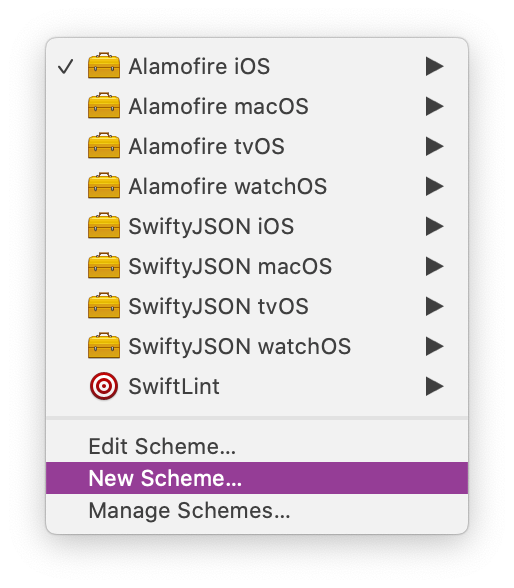
From the Scheme picker, select "New Scheme...":
Make sure the target is “None” — I’ve named mine Playground:

On the next screen, under the Build category, use the little + button to add the two frameworks as dependent targets — here is how it should be configured:

Click “Close”. Now, every time you build the Playground target, all the dependents will be also built.
NB: Make sure you’re building for a Simulator and not a real device.
Using the Frameworks
The frameworks can now be used inside the playground just as before:
1. Import them
import Alamofire
import SwiftyJSON
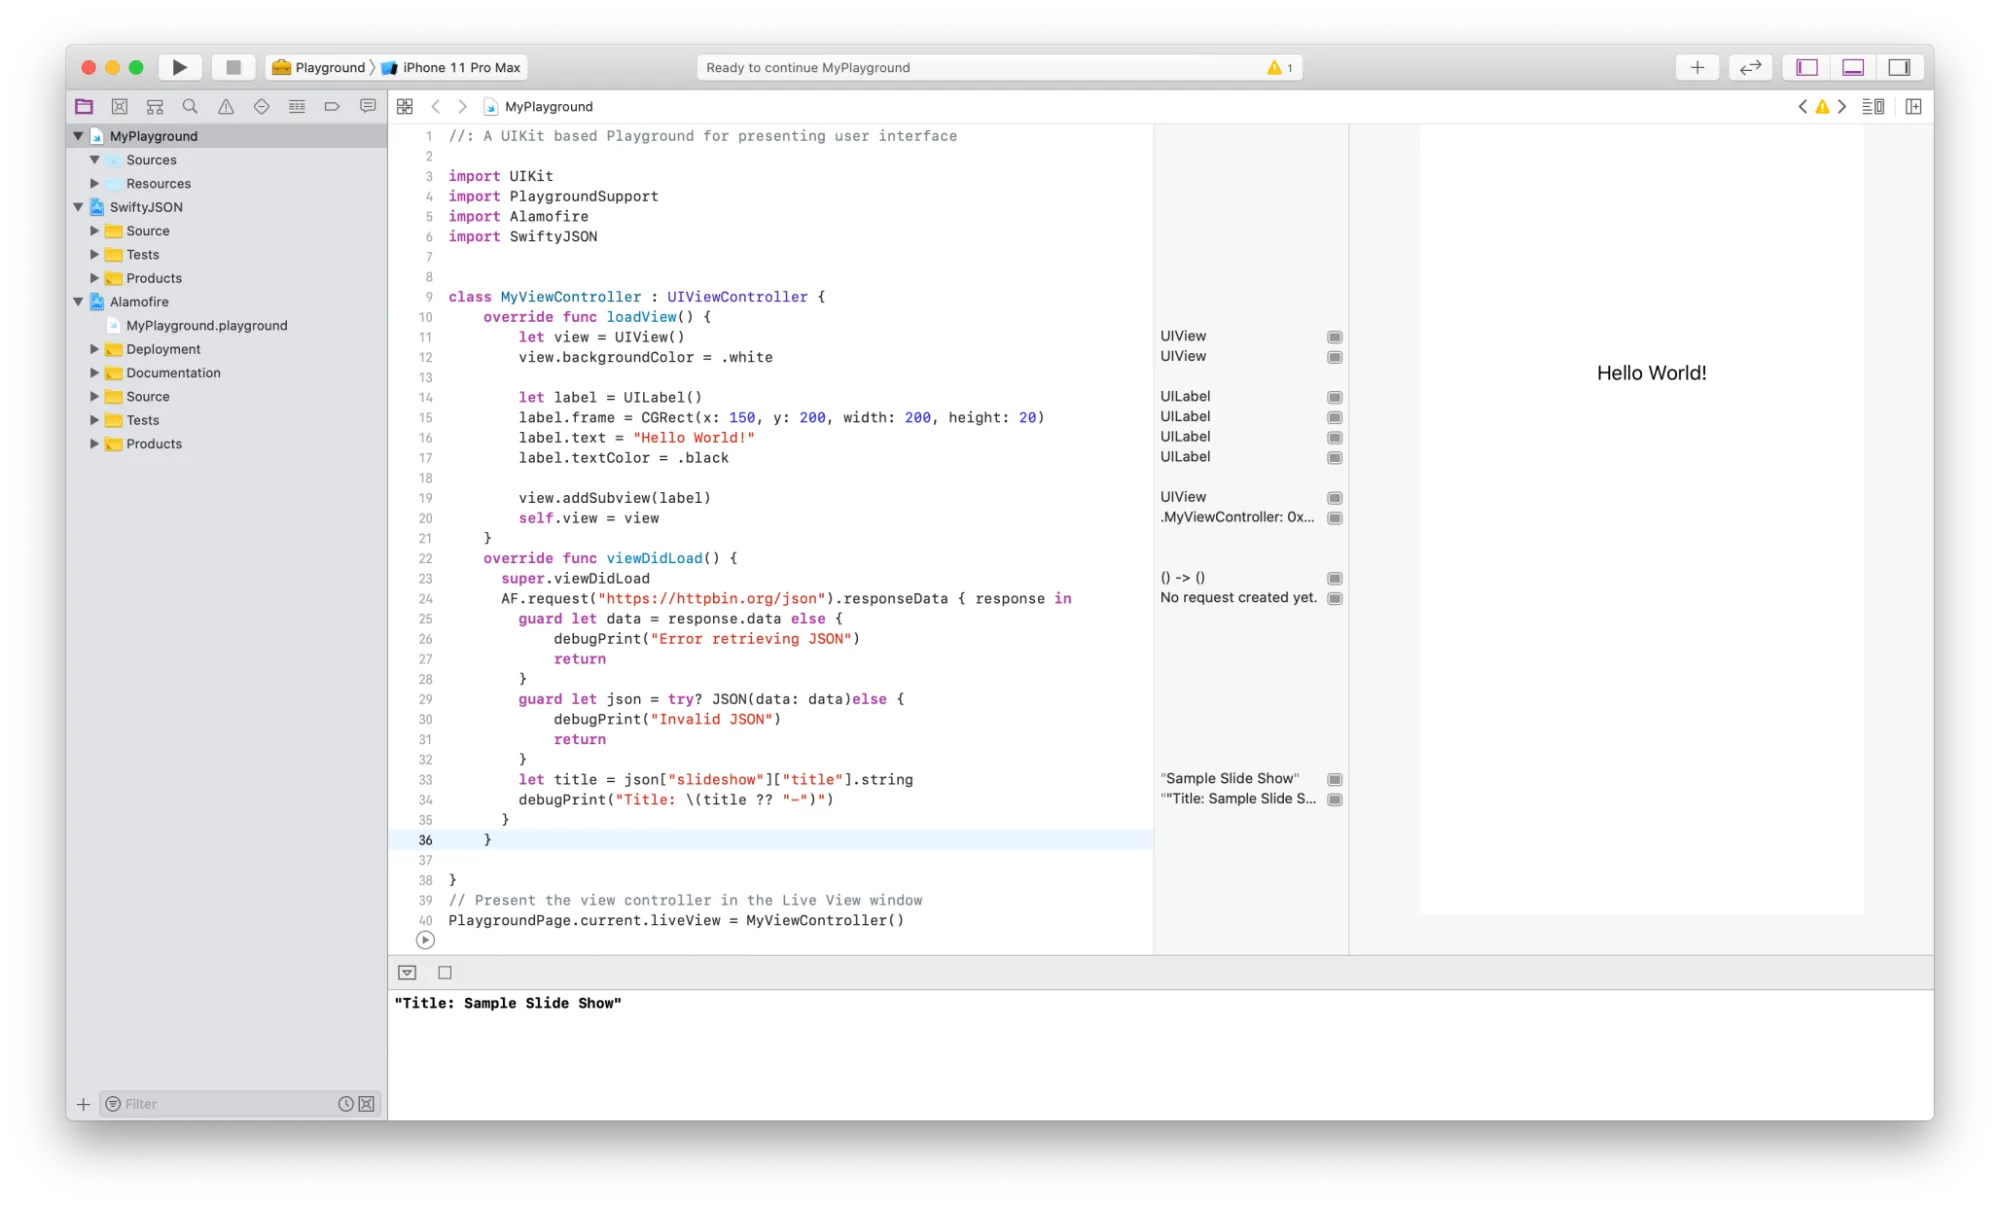
2. We're going to load a sample JSON from https://httpbin.org/json and parse the slideshow title property:
override func viewDidLoad() {
    super.viewDidLoad
    AF.request("https://httpbin.org/json").responseData { response in
      guard let data = response.data else {
          debugPrint("Error retrieving JSON")
          return
      }
      guard let json = try? JSON(data: data)else {
          debugPrint("Invalid JSON")
          return
      }
      let title = json["slideshow"]["title"].string
      debugPrint("Title: \(title ?? "-")")
    }
  }
When the playground is run, you’ll now see the title displayed the console:
That’s it!
Happy Playgrounding! 🤓